For a web page to be displayed on your browser, there needs to be communication between the web server that hosts it and your computer. To counter the growing threat posed by hackers seeking to eavesdrop on these messages between server and client, this communication needs to be secured.
This is where SSL comes in handy. Secure Socket Layer, or SSL in short, ensure these messages are hidden from prying eyes by encrypting them.
 If you are not familiar with the term encryption, it is basically the art, or science, of concealing messages. This is done by scrambling the information being transmitted into a form of a code so that it makes no sense to whoever intercepts it. Only the parties with ‘keys’ (ideally, the authorized senders and recipients of information), can be able to read the messages.
SSL uses asymmetrical and symmetrical encryption to code data and makes it safe for transmission over the unsecured Internet. Asymmetrical encryption uses a public key and a private key while symmetrical encryption has just one key for both encrypting and decrypting information. In particular, the Secure Socket Layer protocol uses the RSA algorithm most commonly.
Benefits of HTTPS over HTTP
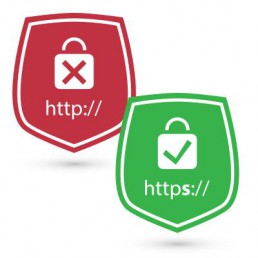
You can tell that a website that has been secured with SSL by the way its URL begins. A site that has ‘https’ and not just ‘http’ at the beginning of its URL is secured. HTTP or Hypertext Transfer Protocol is a set of guidelines by which requests are sent from a web browser to a web server. Https ensures that these messages are transmitted securely using encryption. Below are some reasons why this is important:

-
Preventing Man-in-the-Middle attacks
Man-in-the-Middle attacks, as the term suggests, happen when an attacker inserts themselves in the communication between the server and client. After successfully intercepting messages, the attacker can send false messages to the client convincing them to send sensitive personal information such as their social security number and credit card number. Using legitimate-looking emails or ads to solicit such information from web users is what is referred to as phishing.
-
Protect users from online theft
 If intruders are able to solicit sensitive information from visitors to your website, they can use it to steal from them in a number of ways. These hackers can assume their identity and use funds on their credit cards or bank accounts to make purchases. Some Internet users have had funds debited directly from their accounts by malicious intruders.
-
Prevent unwanted web traffic
Information collected about users online is not always used to steal from them. Some parties will want to use the data to detect web users’ likes and preferences. Based on this information they send ads or promotional messages, hoping to convince them to sign up for a certain service or buy a particular product. These ads may interfere with the browsing experience of visitors to your website, discouraging them from making repeat visits. Some of those ads may be used to hide malicious files that may harm their devices.
By securing data transmission between web server and client, https protects the identity of users visiting your website.
Now that we know how important https is, the next step is actually securing your website with SSL.
Setting up SSL on your website
- Get a dedicated IP address: In the past, a dedicated IP address was required for each SSL certificate. However, with the advent of server name indication (SNI), you can have multiple virtual hosts on a server sharing an IP. Most website hosting plans will give you a shared IP address but will give you the option of upgrading to a dedicated IP for a higher subscription.
Most website hosting plans will give you a shared IP address but will give you the option of upgrading to a dedicated IP for a higher subscription.
2. The next step is to buy an SSL certificate. For the layman, this is a lengthy collection of letters and numbers that serve to uniquely identify a website. These certificates are purchased from specific trusted vendors. Among these trusted vendors is VeriSign, which was recently bought out by security giant Symantec.
Though their offerings seen expensive, it’s because they’re backed by a solid reputation in the security business. There are a number of cheaper alternatives available including Comodo, GeoTrust, DigiCert, and GoDaddy. The latter offers a customizable package for $69.99 per year.
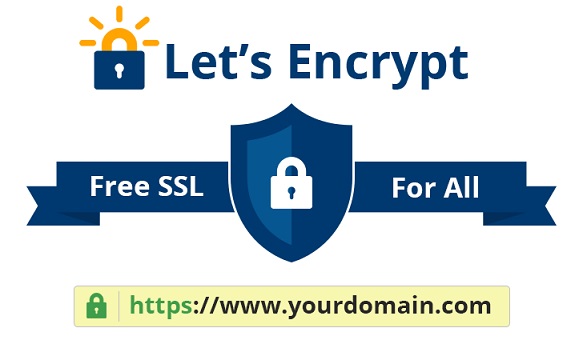
If you don’t have that money to spare you can opt for a free SSL certificate. LetsEncrypt is a free certificate authority backed by non-profit organization ISRG.
3. After acquiring your certificate, you need to activate it. You have the option of asking your web hosting provider to do this on your behalf. If you prefer to be a bit more hands-on, you can follow the steps below:
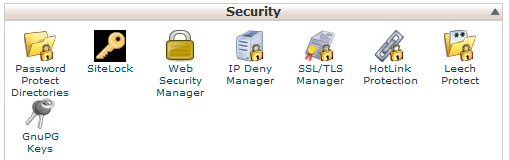
Log onto the cPanel dashboard provided by your host
Go to the SSL/TLS area on the right of the screen and select ‘Generate an SSL certificate and signing request’.
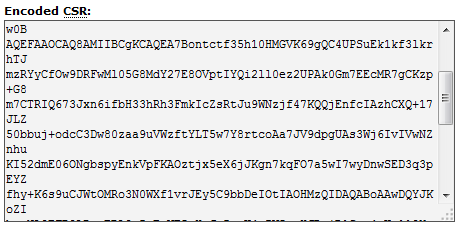
Fill in the fields in the form presented and click the ‘Create’ button at the bottom.
Two blocks of mixed letters and numbers will appear; the top half is the CSR and the bottom is the certificate.
Copy the CSR text and then log into the portal of your SSL certificate vendor (e.g. GoDaddy) and proceed to activate the certificate. Paste the copied CSR text in the field provided. After supplying the email address provided by the domain as an approver email, you will receive a .crt file in this address.
4. Now what remains is to install the certificate on your cPanel. For this, you will go back to the SSL/TLS area but this time select ‘Install an SSL certificate’. This option will give you a space in which to paste the text from the certificate. Upon completion of this step, your site will be secured with SSL but still there is alot to do.
Changing WordPress URL to https
In WordPress, you need to change the install URL, to begin with, ‘https’ instead of ‘http’. This is required in order to access resources such as script files and CSS themes. How to do this:
- On the WordPress dashboard, go to the general settings
- Check the WordPress address and the Site Address and confirm that both start with ‘https’. Add a ’s’ to the ‘http’ if this is not the case.

- Change your wp-config.php file such that the constant ‘FORCE_SSL_ADMIN is set to true. This will force all admin sessions and logins to the site to happen over a secure connection.
Once the SSL has been successfully installed, it is very important to set up 301 permanent redirects for all the HTTP URLs to HTTPS to maintain your rankings over the search engines.Even if you are setting up a new site from scratch, it is important to set up the redirection, so that when someone types your site URL with HTTP, it redirects to HTTPS in a proper way
Setting up permanent redirect via .htaccess
To set up a 301 permanent redirect, you will need to modify the WordPress .htaccess file.
1. FTP the .htaccess file from the web server using Filezilla or any other file transfer
2. Open the .htaccess file and add the following redirection code at the end of the file
RewriteEngine on
RewriteCond %{HTTP_HOST} ^yoursite.com [NC,OR]
RewriteCond %{HTTP_HOST} ^www.yoursite.com [NC]
RewriteRule ^(.*)$ https://www.yoursite.com/$1 [L,R=301,NC]
3. Save the .htaccess file and all of your URLs will now redirect from HTTP to https.
Redirection Using Really Simple SSL WordPress Plugin
If you are not much a tech person and want an alternative way to redirect HTTP to https with just a few clicks, then this method is for you.
WordPress repository has a really great plugin “Really Simple SSL”, which makes it super easy to do the task in like few clicks. Here is how you can use it:
- Navigate to “Add Plugin” section and search for Really Simple SSL
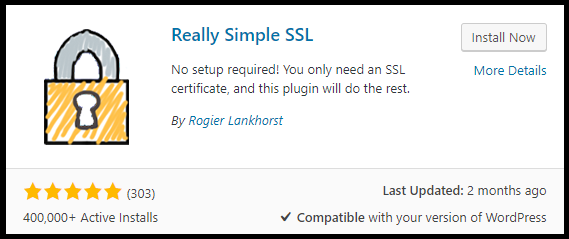
- Install and Activate the Plugin
- Now activate the SSL and go to settings of the plugin ( from installed plugin section)
- Click on Setting next to Configuration and enable the first 3 options and click save at the bottom.
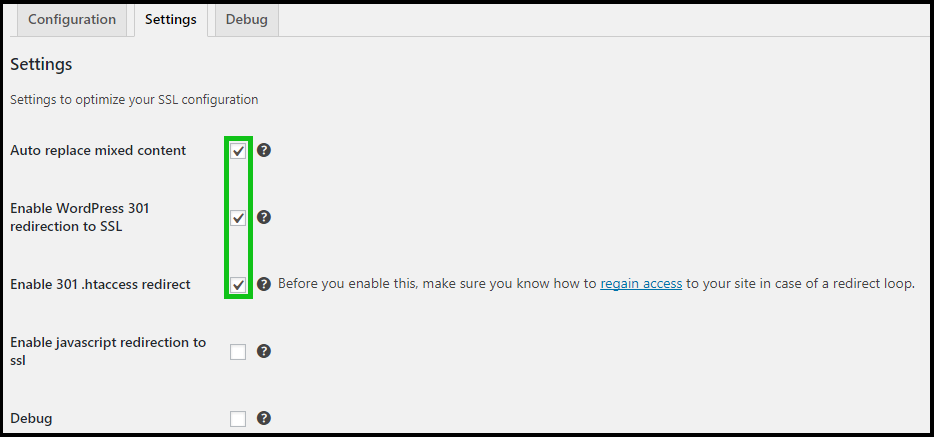
- The third option that is “Enable 301 .htaccess redirect” is not mandatory, but enabling it would place a proper redirection from .htaccess file as well
- Done, you have successfully redirected all the HTTP URLs to https.
This was all about how to install an SSL certificate and set up the redirection for OLD URLs from HTTP to HTTPS. If you any doubt regarding any of the step, get to us through the comment section below.
